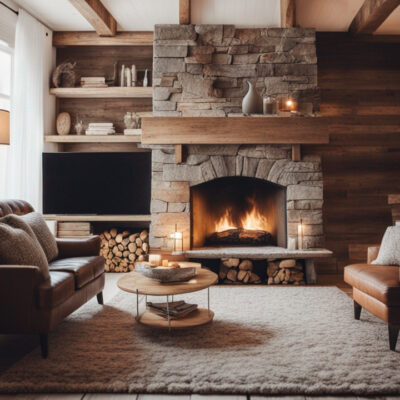
Peaceful purposeful home


Over here, we do imperfect.
We do real.
We have limited budgets, not enough sleep, and big dreams.
Every day is an adventure – and one we love sharing with you.
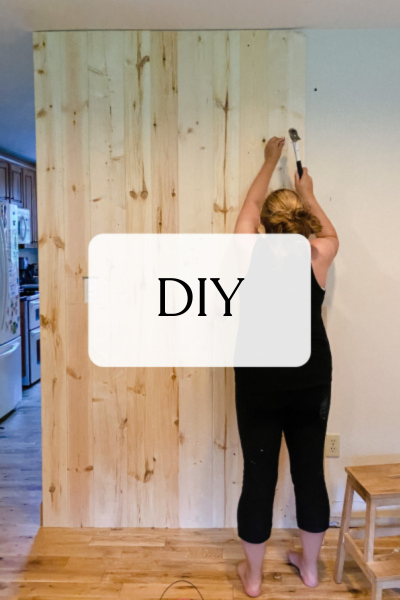
We’re working on making our fixer upper a home, one project at a time.
I believe in making a beautiful home on a budget, so we can enjoy life with our families in a space that we love. Come see more about us